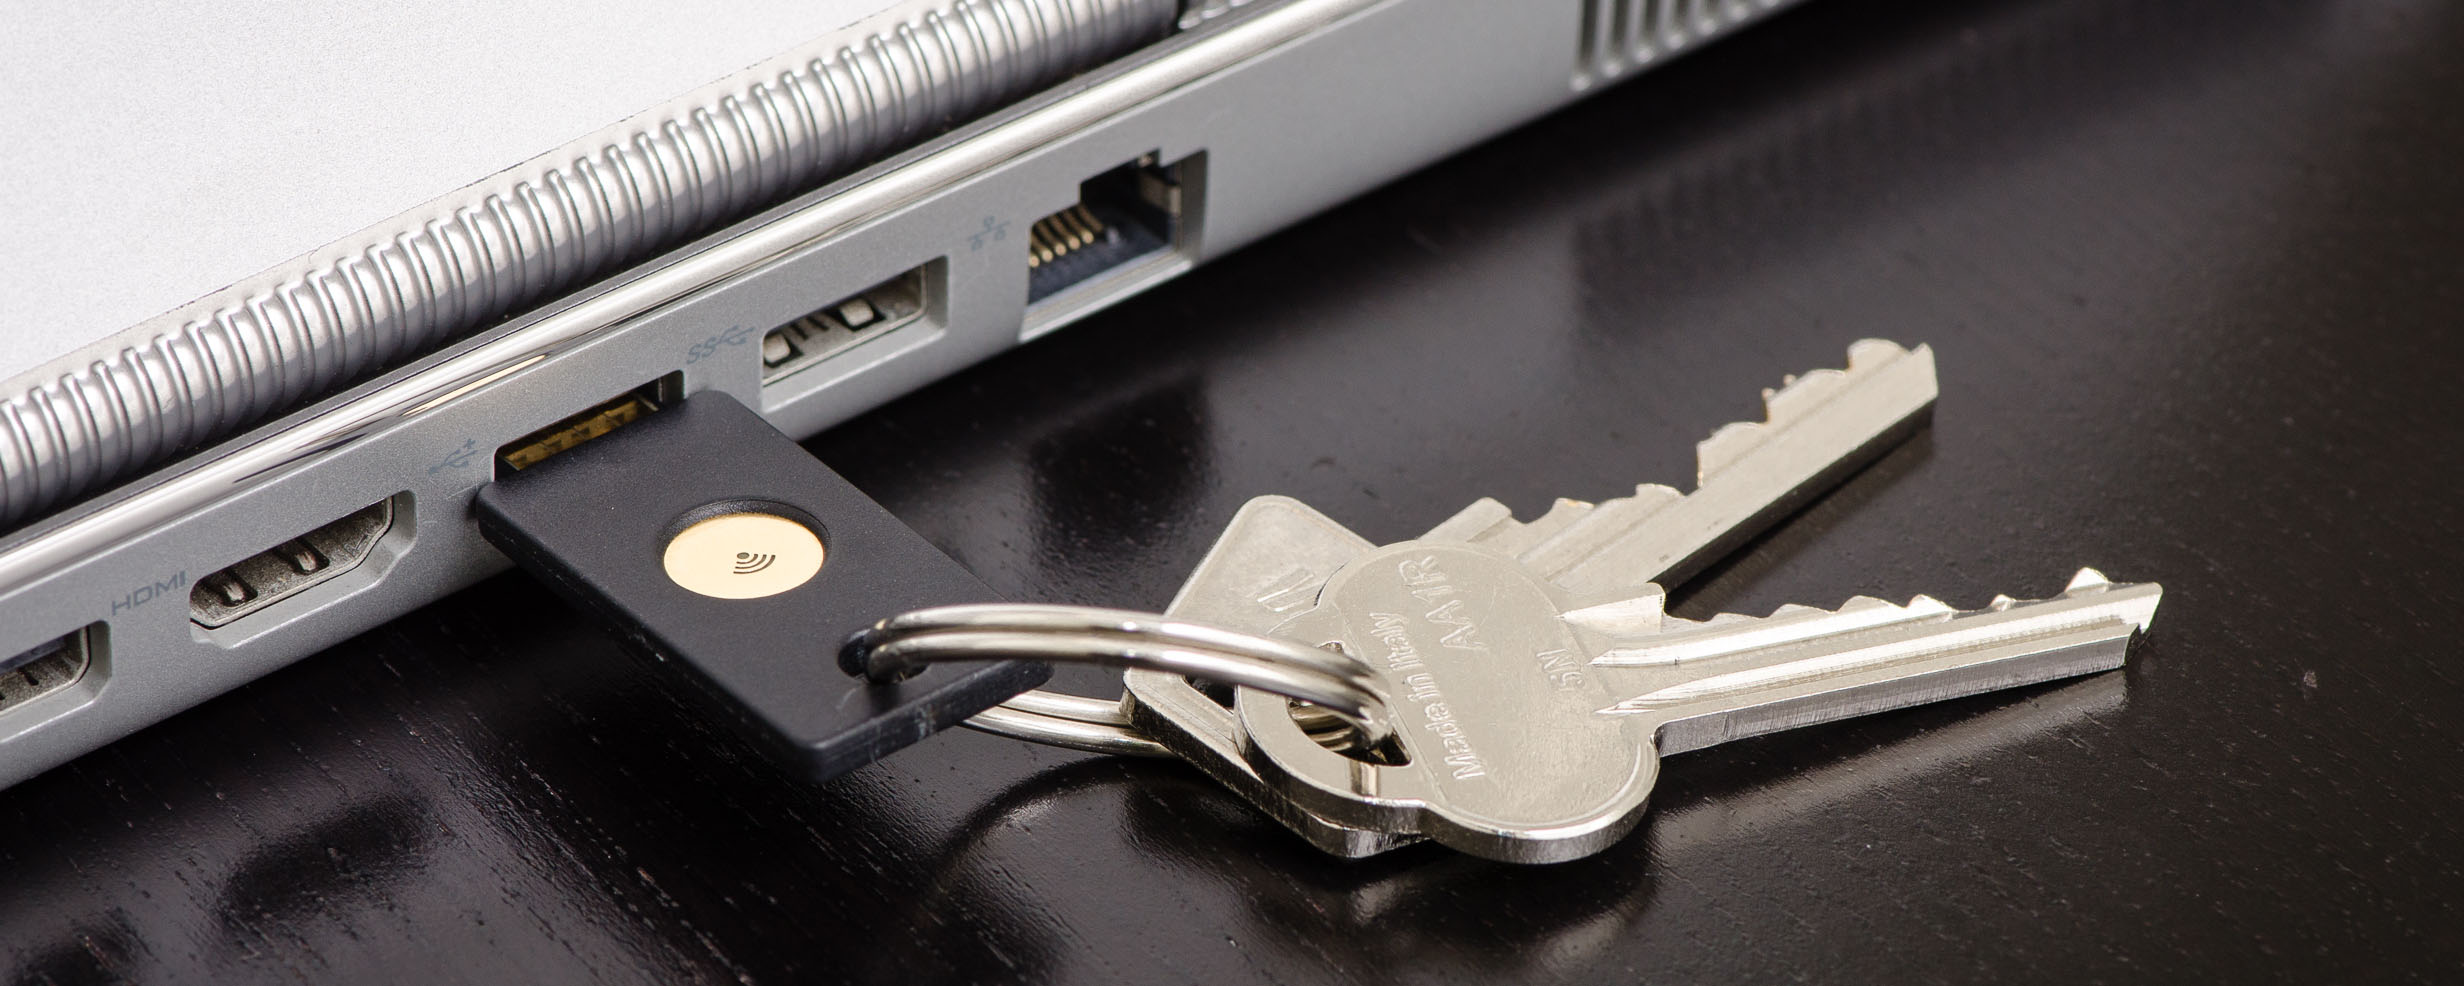

I’ve decided to move my SSH private key to a Yubikey in order to add additional security to my network. This has a couple of benefits such as using the same key for both PGP/GPG and SSH.
I’m going to assume a basic knowledge of cryptography, an advanced knowledge of command line use on macOS, and prior use of GPGTools.
Tools and software needed:
You will need the following to get started
Color coding used in this Article:
I’m using the following syntax highlighting in this article:
- Variables you need to change are in red.
- Field names you need to look for are in teal.
- Special instructions relating to variables are in orange.
- Variables you must copy exactly are in purple.
- Code blocks have a grey background and the color scheme is a language syntax instead of the above rules.
Step 1: Generate A GPG Key
We will generate a GPG key to store on our Yubikey. I recommend 4096 bits for all key sizes. If you want the key to expire or not is up to you.
- Create a GPG key using the GPG Keychain app and select RSA (sign only) under Advanced options.
- Now we will create the sub-keys that will be added to the Yubikey using the commands below (Replace FFFFFFFF with your Key ID):
ahrenstein@macOS $: gpg2 --edit-key FFFFFFFF
gpg> uid 1
gpg> primary
gpg> save
ahrenstein@macOS $: gpg2 --edit-key --expert FFFFFFFF
gpg> addkey
Your selection? (Select the number that correlates to "RSA (sign only)")
gpg> addkey
Your selection? (Select the number that correlates to "RSA (encrypt only)")
gpg> addkey
Your selection? (Select the number that correlates to "RSA (set your own capabilities)")
Your selection? S
Your selection? E
Your selection? A
Your selection? Q
gpg> save
You should now have 4 different keys; each with their own usage from the following: SC, S, E, and A
Step 2: Backup your GPG keys
Now that you have generated your GPG keys, I highly recommend backing them up to a secure location such as an encrypted flash drive.
Step 3: Configuring the Yubikey Smart Card
Now we will configure the Yubikey to accept GPG keys. The default PINs for Admin, and User are 12345678, and 123456 respectively.
New Admin, and User PINs have the following requirements:
- The PIN must be 6-8 characters
- The PIN must contain a lower case letter
- The PIN must contain an upper case letter
- The PIN must contain a number
- The PIN must contain a special character
Now run the following commands to configure the Yubikey:
ahrenstein@macOS $: gpg2 --card-edit
gpg/card> admin
gpg/card> passwd
gpg/card> 3
gpg/card> 1
gpg/card> Q
gpg/card> name
gpg/card> login
gpg/card> sex
gpg/card> lang
gpg/card> forcesig
You can now check to make sure your card is configured correctly. The beginning output should look something like this:
gpg/card> list
Application ID ...: DXXXXXXXXXXXXXXXXXXXXXXX
Version ..........: 2.1
Manufacturer .....: Yubico
Serial number ....: XXXXXXXX
Name of cardholder: Matthew Ahrenstein
Language prefs ...: en
Sex ..............: male
URL of public key :
Login data .......: ahrenstein
Signature PIN ....: forced
Step 4: Adding your GPG key to the Yubikey
Now we will actually move your GPG keys to the Yubikey. The only keys remaining on your computer will be the public key, and stubs pointing to the Yubikey.
- To move your GPG key to the Yubikey you must enter the key edit mode (Replace FFFFFFFF with your Key ID):
ahrenstein@macOS $: gpg2 --edit-key FFFFFFFF
gpg> toggle
gpg> key 1
gpg> keytocard
Your selection? (Choose "Signature key")
gpg> key 1
gpg> key 2
gpg> keytocard
Your selection? (Choose "Encryption key")
gpg> key 2
gpg> key 3
gpg> keytocard
Your selection? (Choose "Authentication key")
You should now have your keys moved over to the Yubikey. Now use GPG Keychain to upload the public key to somewhere like the OpenPGP Keyserver or Keybase.io
Now we need to tell the card where your public key is. Perform the following steps:
ahrenstein@macOS $: gpg2 --card-edit
gpg/card> admin
gpg/card> url
URL to retrieve public key: "URL TO YOUR PUBLIC KEY .asc FILE"
gpg/card> quit
Step 5: Using Yubikey GPG keys for SSH authentication
On your Mac edit the file ~/.gnupg/gpg-agent.conf to contain the following:
default-cache-ttl 600
max-cache-ttl 7200
pinentry-program /usr/local/MacGPG2/libexec/pinentry-mac.app/Contents/MacOS/pinentry-mac
enable-ssh-support
Now create ~/.gpg-agent-info with the following content:
SSH_AUTH_SOCK=${HOME}/.gnupg/S.gpg-agent.sshNow edit ~/.zshrc to contain the following:
#Start GPG Agent if not already started
if [ ! -f "/tmp/gpgStarted.lock" ]; then
    gpg-connect-agent reloadagent /bye
    touch /tmp/gpgStarted.lock
fi

# Enable GPG keys for SSH Auth
if [ -f "${HOME}/.gpg-agent-info" ]; then
     . "${HOME}/.gpg-agent-info"
       export SSH_AUTH_SOCK
fi
In any new Terminal windows you can now get your new SSH formatted GPG key via the ssh-add -L command.
Step 6: Using your Yubikey on additional Macs
To set up additional Macs for Yubikey SSH authentication simply perform Step 5 and then import the key with the following commands:
ahrenstein@macOS $: gpg2 --card-edit
gpg/card> fetch
gpg/card> quit
ahrenstein@macOS $: gpg2 --card-status
You should now have your imported public key from the Yubikey’s URL and the private keys on the Yubikey should be linked to it via the stubs.
Summary
You should now have a Yubikey configured on one or more Macs for use as GPG key and SSH key authentication.
BE WARNED: If you did not back up the non-stub versions of your keys before running “keytocard” you will be unable to recover your private keys. Once on a Yubikey, the keys cannot be exported!